Blocking
((The RP XP with MJ #57))
There is a RolePlay technique that’s incredibly easy to perfect and adds countless options to your RP affectations. It’s also extremely easy to master. The technique is called “blocking,” and it’s something you’re already familiar with if you’ve ever seen a movie, play or television show.
Did you ever notice the way people stand or face, particularly on TV in comedies or live audience productions where the sets are essentially three walls with the fourth wall open to accommodate the audience and/or the camera? In the original days of stage plays, directors had their casts play directly to the audience, marking positions for them to stand, angles for them to face, and props or furniture for them to use that would establish their positions on the stage. That’s called “blocking” and it’s used regularly in TV and film. Establishing locations for actors to sit or stand, or setting directions for them to move, helps the cinematographer establish mood and scene (as well as focus and knowing where to point the camera).
The same techniques can be applied to your RP.
STAGING
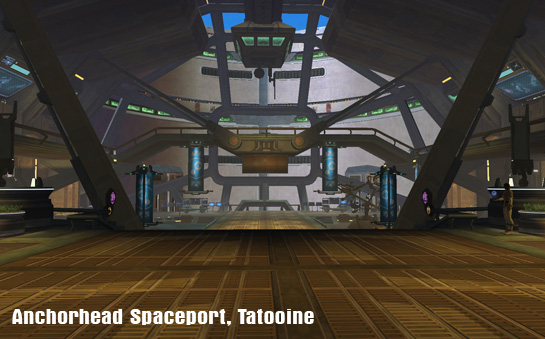
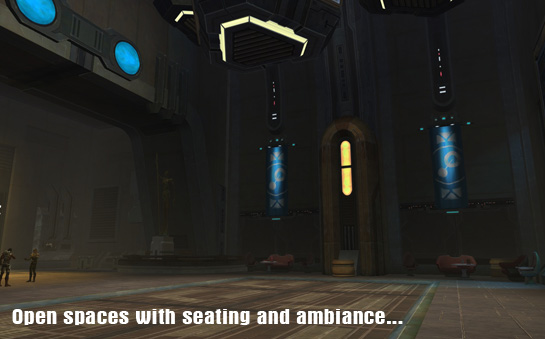
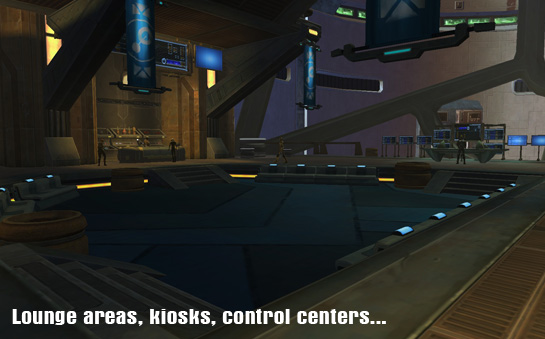
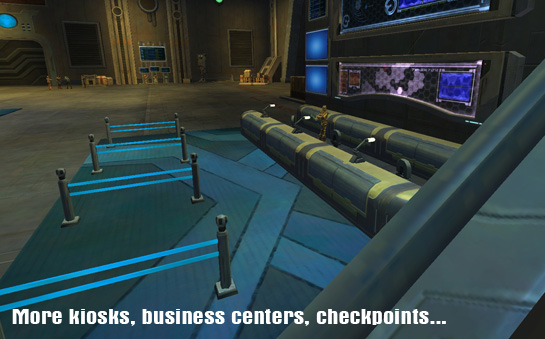
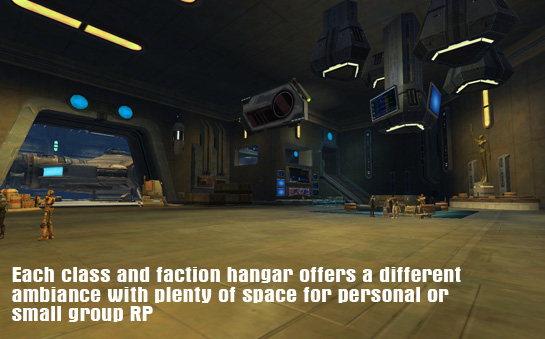
Let’s start by examining the stage where your RP will take place. Whether you’re just diving in to some random extraneous BARPing (Bar RP) around a cantina, or setting a scene inside a hangar, spaceport or back alley on Nar Shaddaa, there are some considerations to make based on your expectations for the story. Naturally, you can’t expect everyone in your RP group to understand the blocking technique, but you can at least establish yourself on the stage and use the technique effectively.
If you are hosting the RP, consider the following: Will there be any action to the scenario? Will your RP group expect to move around in this location, perhaps to search for something, or to attack spawning mobs nearby? Or, is this simply a conversation piece with the area selected for mood, perhaps under a chilly mountainside on Alderaan, a dusty cave on Korriban or a landing platform on Makeb?
Make sure you know ahead of time what’s expected of the scene and position your character accordingly. If you are the one hosting or “GMing” the scenario and you’re using one of your own characters as an NPC catalyst for the story, use your character to herd your RP “actors” into the area for optimal exposition. Choose a location for the mood of your scene. Keep general lighting in mind, whether or not the scene takes place indoors or outside, and whether or not the ambient sound of the location makes sense (the sky traffic of Coruscant, for example, or the thunder and rain of Dromund Kaas). Now that you’re on the stage, set your stance and block your character.
NOTE: Not everyone has a computer with a top-of-the-line graphics card, and even some who do don’t run with shadows turned on. “Natural” shading caused by the shifting shadows of trees or buildings will make for great settings, but they’re also very taxing on your graphics card. Don’t assume everyone you RP with has their shading set to max and their shadows turned on.
STANCE
As your character enters a scene, or bellies up to the bar, keep natural actions in mind. Bar patrons, for example, may step up to the bar and rest their arms on it, or lean on it, or set their palms on it–perhaps raising a hand to flag down the tender droid. Obviously, these actions have to be described in your exposition using the emote command “/e” prior to describing your action. Since BARPing is the most common form of casual RP, I’ll use that as my basis for examples going forward.
Other actions upon approaching a bar may include looking around the room, checking out the other patrons, or keeping your eyes straight ahead in an unspoken warning that you’re minding your own business. You’ve established the setting, you have your stance; now to consider engagement and blocking.
ENGAGEMENT
Here is where many RPers drop the ball because of a missed RP-friendly setting in your preferences.
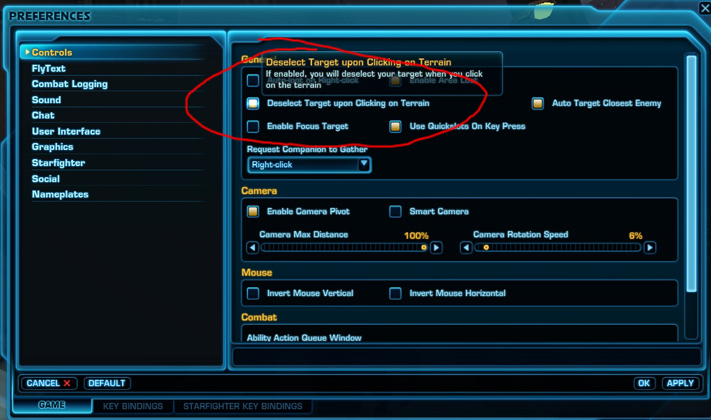
NOTE: It helps if you set your preferences to “Deselect Target upon Clicking on Terrain.” See below:
Now you can left-click on a character, or some interactive NPCs (like vendors), and your character’s head will turn to face that individual. In some instances, though in my experience it seems random, NPCs will even look back at you. You can cancel the action, or “face forward” by simply clicking on empty terrain.
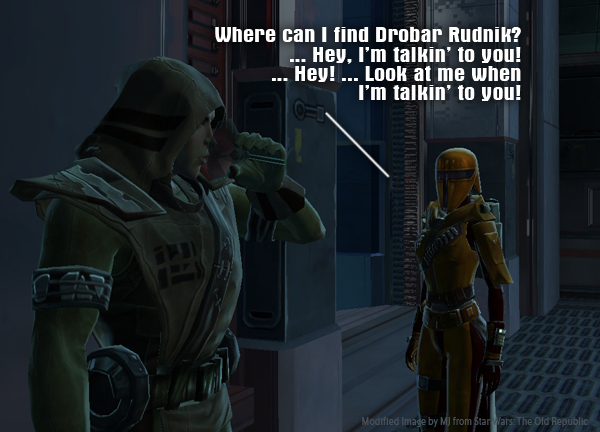
Many RPers simply turn their entire character to face yours during a conversation. There’s nothing really wrong with that, but even a cursory glance from a distance will make them appear as though they’re staring blankly at your character’s forehead, over their shoulder, or at some point on a far wall. Blocking correctly will increase the immersion factor and make even the simplest conversations seem interesting and cinematic. Just turning a character’s full body to face another can be problematic when you consider different headgear and body type options. While the character creator doesn’t allow for different height options, some avatars are taller than others by default. Clicking on a taller character will actually make your character look up, or down to shorter ones, (as long as you’re not too close or too far away for the mechanic to register).
This comes in handy if you want your character to come off as curious, creepy or intense, depending on how you utilize the left-click on a moving target. Try the left-click on an NPC (like the droids that patrol the space stations) and observe how your character’s head slowly turns to follow them. As long as you don’t click off the individual, your character’s head will snap back and pick them up as they come around for another pass, always keeping them in focus until line-of-sight is broken.
APPLIED BLOCKING
Any time my character is in a scene or conversation, I never turn my avatar to completely face that person (unless the intensity of the scene requires it; for example, if my Sith Lord is getting in the face of his apprentice, glaring down and snarling at him). Instead, try this:
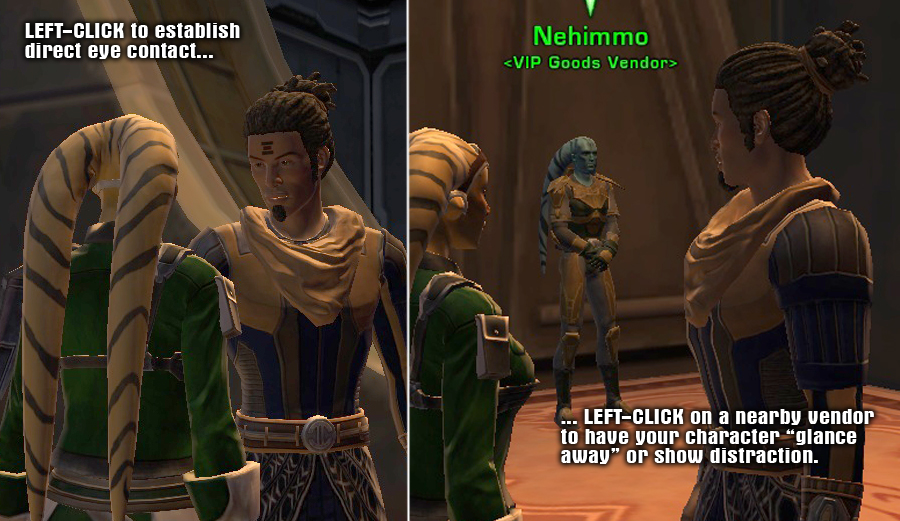
Position your character approximately 45 degrees to the character yours is addressing. If there is more than one character in the group, face the approximate “middle” of the group. You can then alternately left-click on different individuals to show your character’s attention moving from person to person (or conversely, away from everyone to look at something in the distance). This is also a great use for pets. Clicking on ground pets will cause your character to look down and track them, flying pets will cause your character to look up or to the side.
In instances where more than one person is speaking, you can simply left-click on the speaker to show your character turning his/her attention their way. Your character’s head will turn to face the speaker. This will add an extra dimension of activity in groups of three or more to show your character’s involvement even when they aren’t emoting or speaking. Practice different combinations of body facing and left-clicking to see what kinds of effects you can achieve.
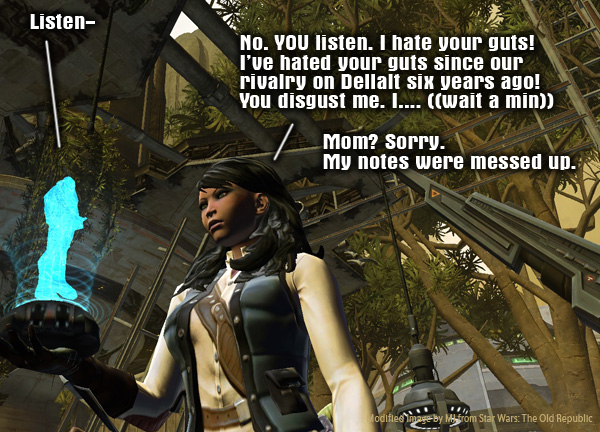
In one-on-one scenes, use the 45-degree angle technique to establish “asides.” For example, click on the character yours is addressing and say, “I know what you’re saying about Apprentice Bartol….” Now click off of their character on to empty terrain. “…Someone needs to talk to him.” The effect comes off as though your character is suddenly looking into the distance, as if in a daydream, while they ponder what needs to be done with Bartol.
See? Easy. Now practice your clicking and blocking and let me know how it goes.
((The RP XP with MJ)) appears exclusively on www.swtor-life.com. You can contact MJ directly at swtorliferp@gmail.com, or follow him on Twitter @MJswtor. Every email is read, every question answered. MJ is also the author of the e-book Clockwork Looking Glass, a Steampunk adventure fantasy. If you’d like to check it out, click on the ad on this page.
Comments Off on Blocking


